Implementing sandbox evasion via GlobalMemoryStatusEx in x64 assembly, including how to manually calculate C struct sizes and pass pointers on the stack.
Read more →Malware sandbox evasion in x64 assembly by checking ram size - Part 2
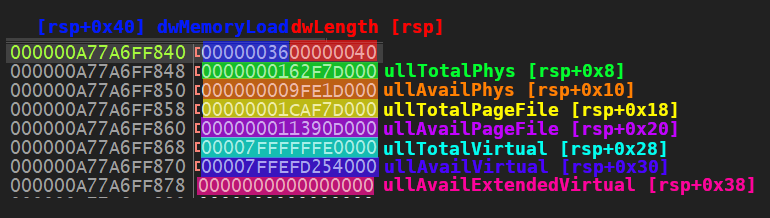
Implementing sandbox evasion via GlobalMemoryStatusEx in x64 assembly, including how to manually calculate C struct sizes and pass pointers on the stack.
Read more →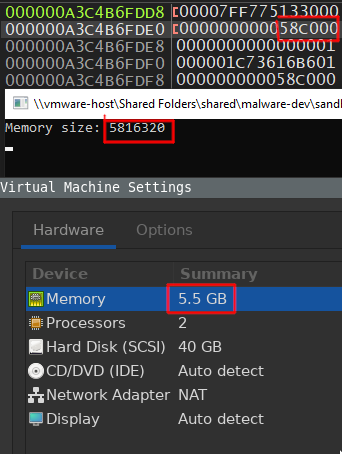
Implementing the malware sandbox evasion technique of checking RAM size using GetPhysicallyInstalledSystemMemory, converted from C to x64 Windows assembly.
Read more →
An overview of MITRE's Malware Behavior Catalog (MBC) framework and MBCScan, a command-line tool I built to surface MBC behaviors from Capa scan results.
Read more →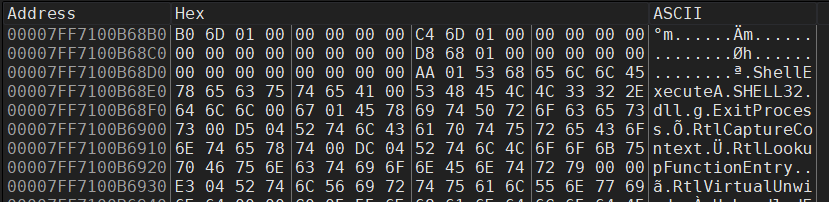
How to hide API call strings from antivirus detection using LoadLibrary and GetProcAddress for runtime DLL loading, with a full x64 assembly implementation.
Read more →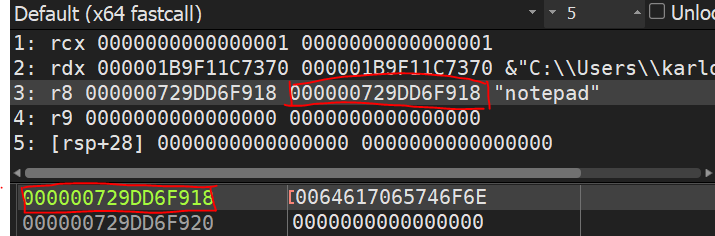
How to hide strings from antivirus detection by placing them on the stack instead of the .data segment, demonstrated in C and x64 Windows assembly.
Read more →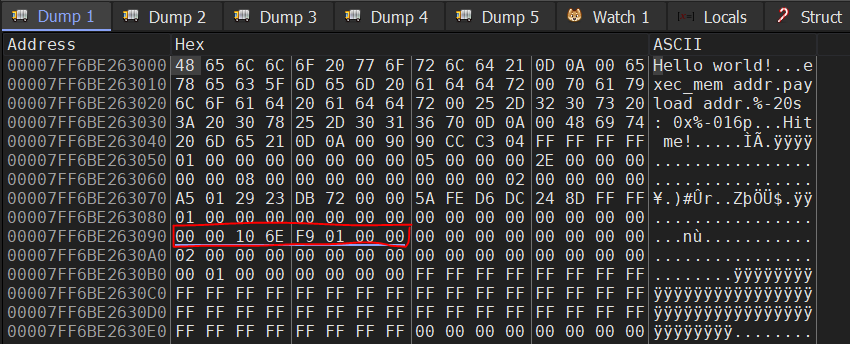
Practical lessons from converting a C malware dropper to x64 Windows assembly, covering shadow spaces, calling conventions, and memory segments.
Read more →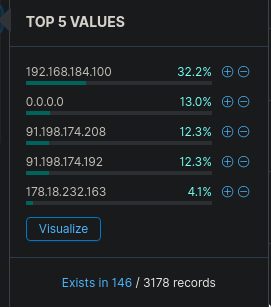
CyberCorp Case 2 part 3 — certutil download, LSASS dumping, WMI lateral movement to a domain controller, and tracking the second reverse shell C2 address.
Read more →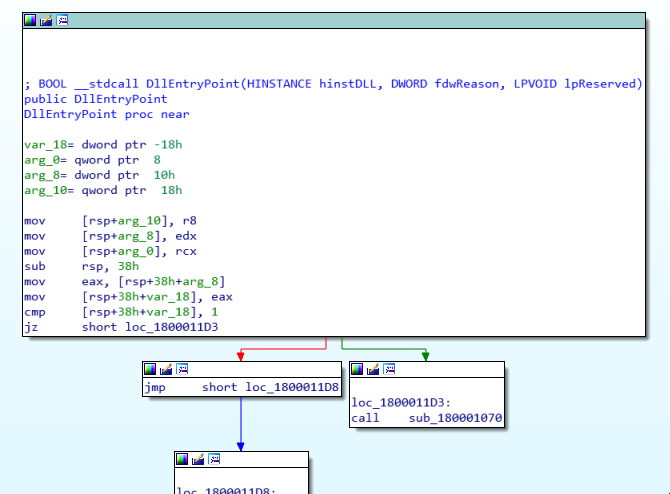
CyberCorp Case 2 part 2 — decoding a base64 gzipped registry payload, tracing PID spoofing in PowerShell, and identifying the reverse shell C2 IP.
Read more →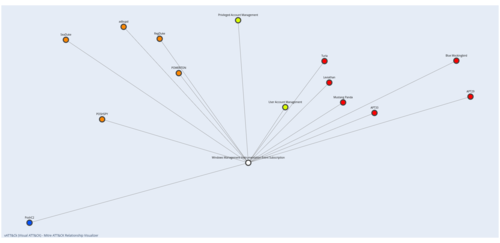
CyberCorp Case 2 threat hunting walkthrough — tracking WMI persistence, a malicious Word document, and a hidden iexproxy.dll download technique in Kibana.
Read more →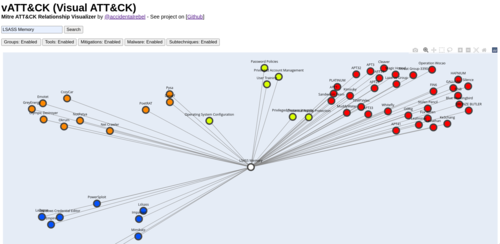
vATT&CK is a visual relationship mapper for MITRE ATT&CK that shows linked malware, threat groups, mitigations, and subtechniques in a single interactive graph.
Read more →